
Family Photographer in San Antonio
Christina Heyrend
March 14, 2026
Starburst Photos: Your Ultimate Guide
Catch the Perfect Sun-flare: Ultimate Guide to Starburst Photos
Capturing stunning starburst photos transforms an ordinary landscape or portrait into a breathtaking visual masterpiece. This can be accomplished whether shooting with a DSLR, mirrorless camera, or smartphone. Consequently, this creates those brilliant, radiating light beams- often called sun-stars or sun-flares- comes down to mastering light diffraction and exposure.
Starburst Photos vs. Haze vs. Backlight glow
Starburst Photos
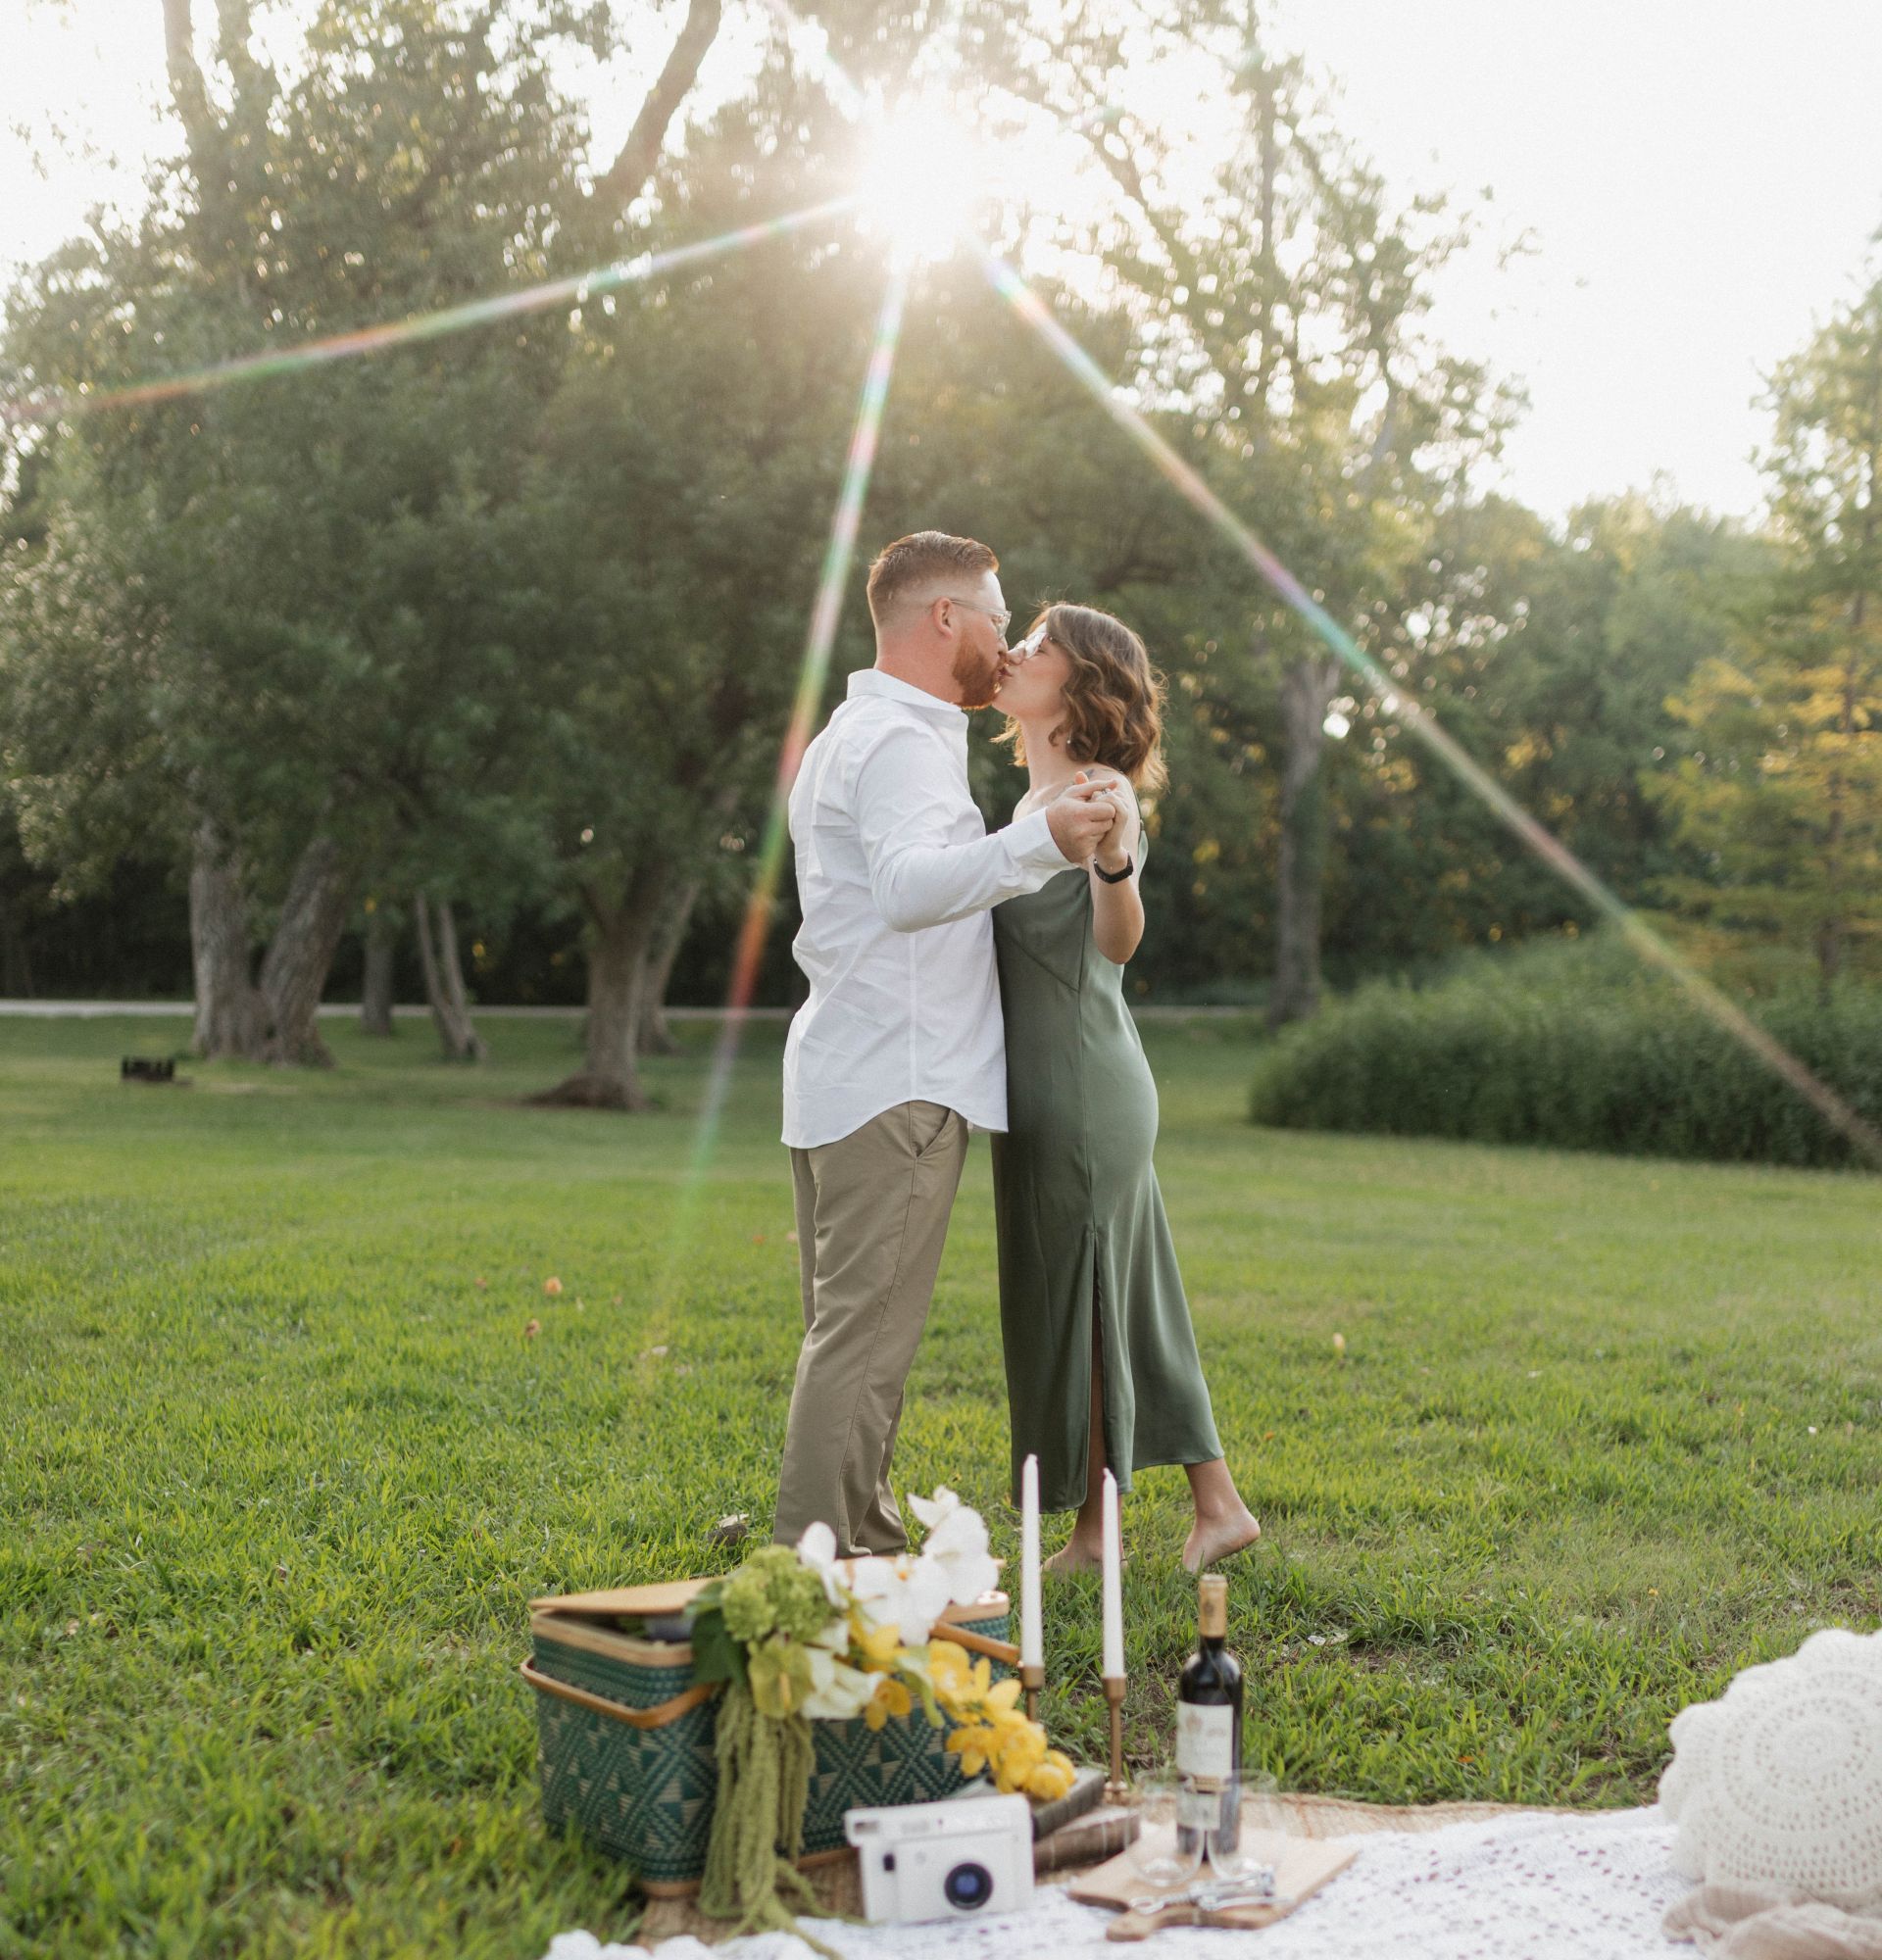
This technique is strategic, utilizing diffraction. Basically, this causes light to bend around the lens glass into rays, rather than a hazy glow. TLDR: small aperture, high f stop, sun peaking through an edge.
Haze
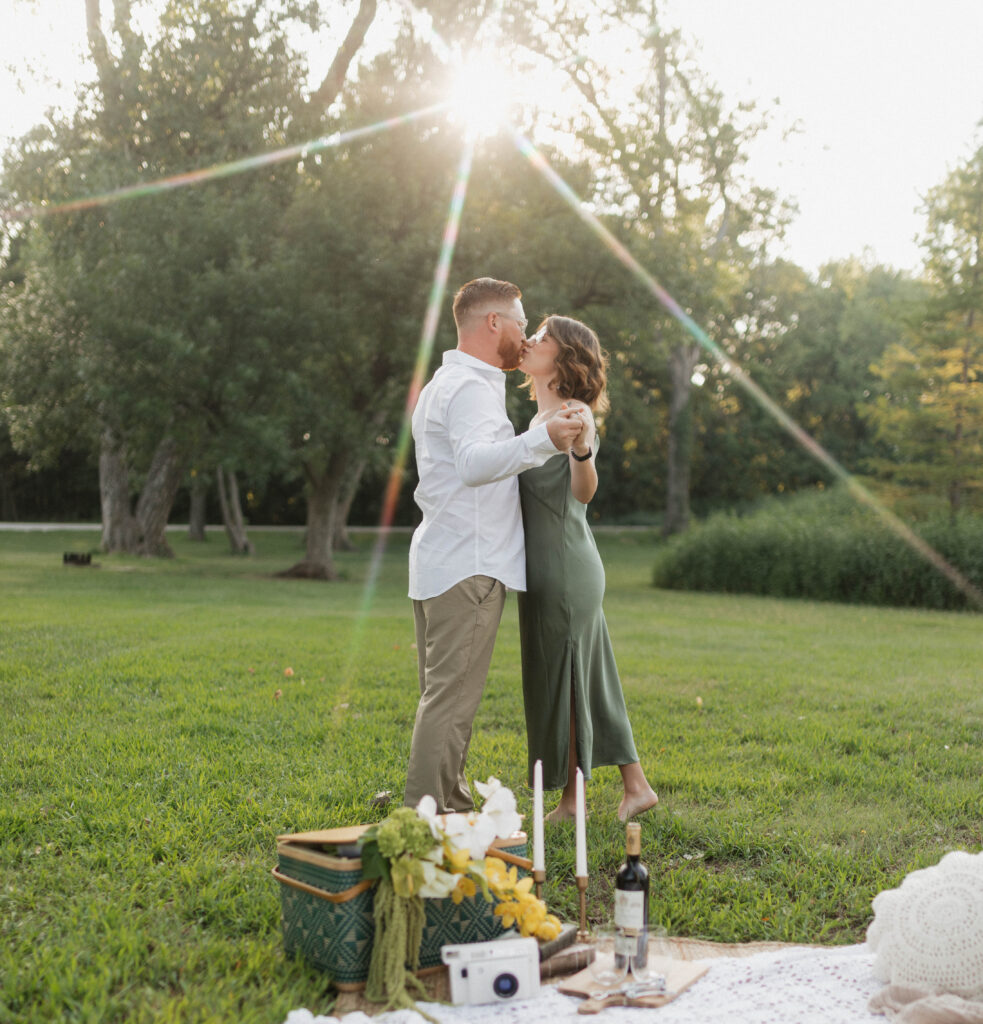
Different from starbursts, this is an artifact that happens when sunlight directly hits the lens. But haze should be intentional, but it is subjective. Some people love it, some don’t.
Backlighting Glow
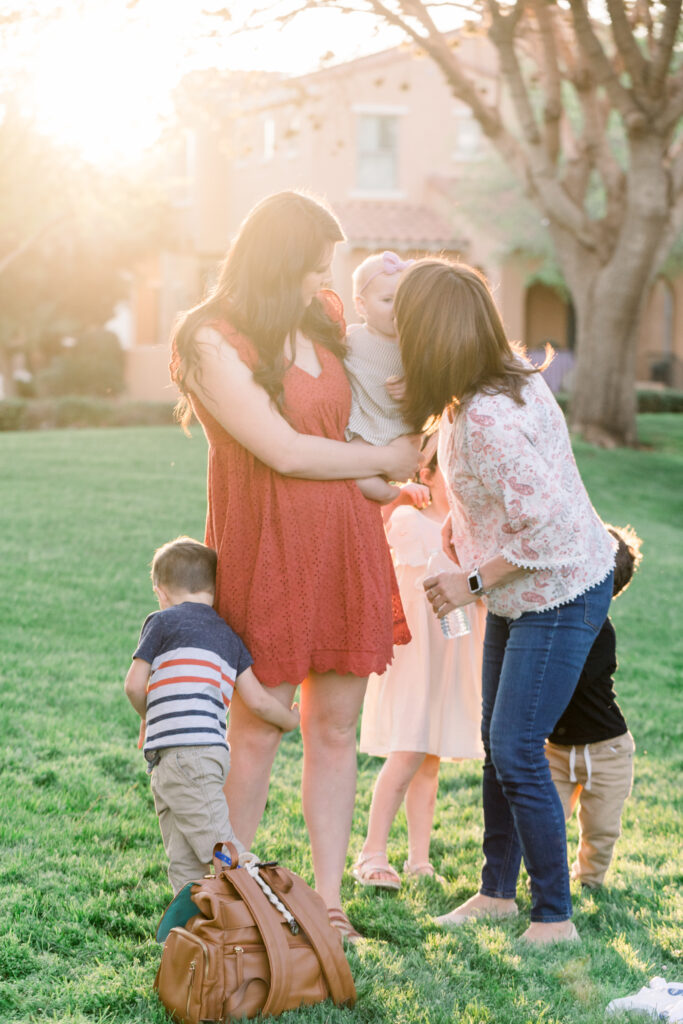
This is creating a halo, or a golden rim around the photo’s subject. You capture this effect by placing the sun behind your subject. Make sure no sunlight directly hits the lens. This effect is even better if the sun is diffuse through another medium- like tree leaves, or a bush.
Capturing Starburst Photos on an iPhone
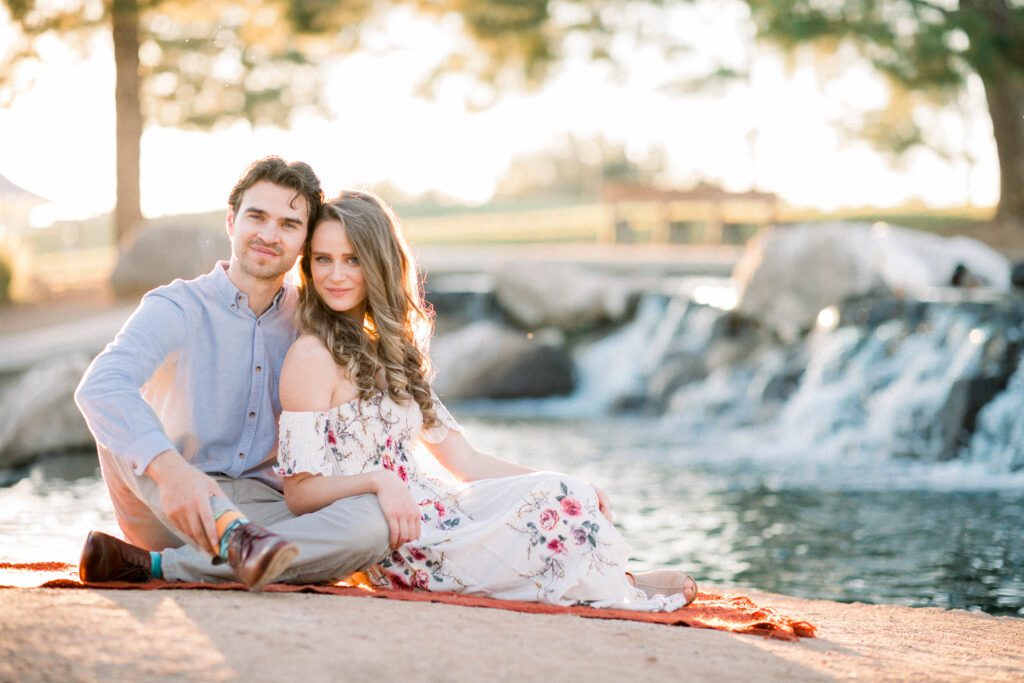
While smartphones lack adjustable physical aperture blades, you can still produce eye-catching starburst photos through careful positioning and software exposure tweaks:
- Lock Exposure and Dial It Down: Tap on the bright area near the sun to set focus and activate AE/AF Lock. Drag the sun slider icon down to lower the exposure value; underexposing slightly prevents blown-out skies and accentuates light rays.
- Block the Sun: Position your phone camera so only a small sliver of sunlight cuts across an object, like tree leaves or a building edge.
- Shoot in Burst Mode: Continuously shoot/hold down the capture button while adjusting for several angles until you find the right one.
Mastering Starburst Photos on a DSLR or Mirrorless Camera
Creating crisp rays with a dedicated camera relies heavily on optics and aperture control:
- Lens Type: Wide lenses with a single focal point work best.
- Use a Small Aperture (f/11 to f/16): Stop down your aperture to a high f-number. The smaller opening forces incoming light rays to bend around the physical edges of the lens aperture blades, creating distinct star points.
- Partially Block the Sun: Position the sun so it just peeks past a hard edge, such as a tree trunk, mountain ridge, or a couple’s shoulder. Splitting the light source drastically sharpens the burst effect.
- Underexposure: The starburst photo will pop more with lower light levels.
Composition & Timing Tips
- Shoot During Golden Hour: Target early morning or late afternoon when the sun sits low on the horizon, yielding warm atmospheric light and long, dramatic shadows.
- Frame with Intention: Place your main subject—such as a couple embracing or a field of sunflowers—in the midground, letting the starburst act as a glowing focal accent in the background.
- Glass Star Filters (DSLR only): Not required but amplifies the effect. Make sure you match the lens MM size to the filter size. I use this one (not affiliate).
- Apps for iphone: LensFlare, LensDistortion. Use these cautiously, they can appear fake. Good for accentuating a photo with already good composition.
Want Your Updated Photos to Look Like This?
Finding an experienced photographer with the many that pop up on searches? Check out Christina, who has over a decade of shooting families, couples, maternity, lifestyle, and wedding sessions. My work speaks for itself. Submit your dream session in the contact form below! Or click here to book.
Shelby, San Antonio, TX
"Christina made our family session feel effortless, even with the Texas heat and kids of all ages. She made us feel comfortable from the moment we met, captured so many meaningful moments in such a short time, and truly made me feel seen as a mom. When I received our gallery, I cried—I loved every single image. The photos tell our family's story so beautifully, and I can't wait to work with her again."
McNay Art Museum

Amber, San Antonio, TX
"Christina’s was so good with my kids and we felt instantly comfortable like we knew her! This is important because it makes the session feel more genuine and meaningful. The location Christina chose was absolutely beautiful. My husband and I felt comfortable during the shoot and my kids didn’t seem to mind posing and getting photographed which is a win for me! My kids were having so much fun. The photos tell a story and the edits are stunning. Everything turned out great and we were so blessed to have been able to work with Christina."
MIssion Concepcion

Tegan, San Antonio, TX
“The Pearl was a beautiful and clean location for our morning shoot. Christina is great at capturing the attention of our wandering toddlers. She prepares ahead so she maximized our time and kept things moving, which is a blessing with small children. It didn’t take long for her to photograph a variety of great memories for our family. One of my absolute favorites is a semi-candid shot she took of my oldest daughter. This is the second time Christina has taken our family pictures and we are always pleased with her work.”
Family Session at the Pearl


Ginnes, Peoria, AZ
"I love how my pictures came out! I was so worried I’d be awkward and uncomfortable, but she knows exactly what to say and do so I didn’t feel that way. The candid photos are also my favorite, I didn’t think I would ever say that! Thank you, I love them sooooo much!"
Lake Pleasant Arizona


Lindsey, phoenix, Arizona
"I adored working with Christina. She is a total hype woman who will make you feel beautiful and confident while she’s shooting you. If you’re not used to being in front of the camera she does a great job preparing you before the shoot and directing you during the shoot to make sure you look amazing. She is a great communicator and delivered her gallery on time. Her photography style is very dreamy and romantic. I highly recommend working with her!"
downtown phoenix

